Remote IoT behind router for Raspberry Pi has become a popular topic among tech enthusiasts and professionals alike. As more devices connect to the internet, understanding how to set up secure and efficient IoT systems is crucial. This guide will provide you with comprehensive insights into the best practices for managing remote IoT setups using Raspberry Pi while ensuring your router remains a robust security barrier.
In today's interconnected world, IoT devices are transforming industries and households. However, managing these devices remotely presents unique challenges, especially when it comes to security and performance. This article aims to demystify the process of setting up a secure and reliable remote IoT system using Raspberry Pi, even when your devices are behind a router.
Whether you're a beginner or an advanced user, this guide will walk you through the essential steps, tools, and best practices to ensure your IoT setup is both functional and secure. Let's dive in and explore how you can optimize your remote IoT environment for Raspberry Pi.
Table of Contents
- Introduction
- Raspberry Pi Overview
- IoT Basics
- Router Security
- Remote Access Methods
- VPN Solutions
- Port Forwarding
- Cloud-Based Options
- Best Practices
- Common Issues and Solutions
- Conclusion
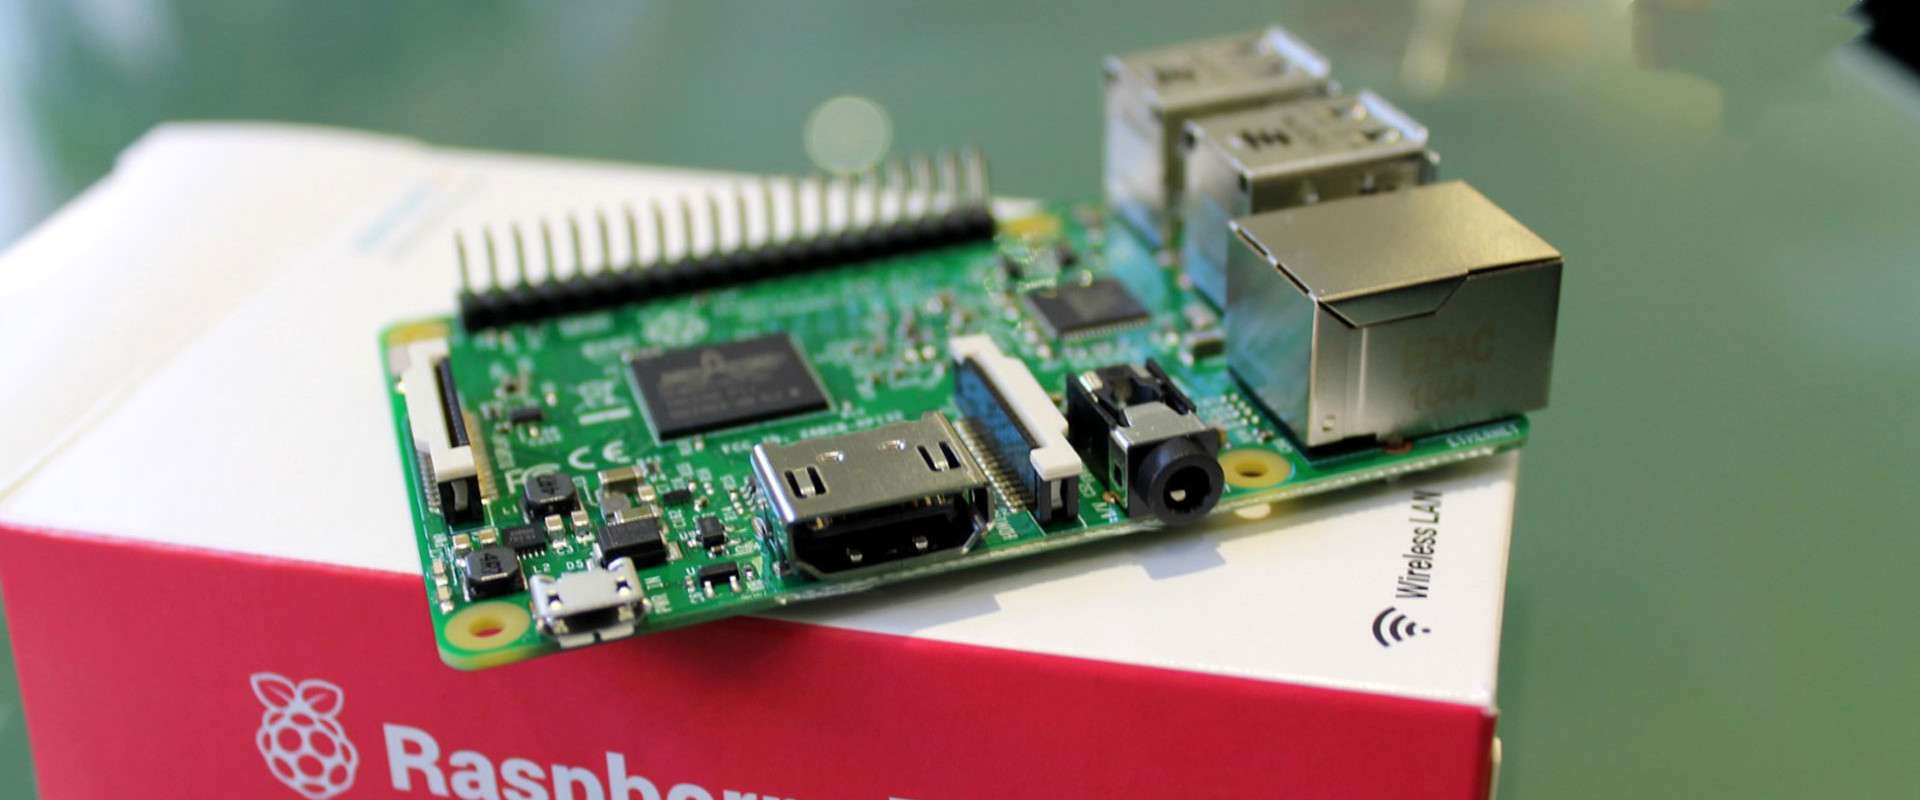
Raspberry Pi Overview
Raspberry Pi is a versatile single-board computer that has revolutionized the way we approach computing and IoT projects. Its affordability, flexibility, and ease of use make it an ideal platform for setting up remote IoT systems. In this section, we will explore the key features of Raspberry Pi and why it is a preferred choice for IoT enthusiasts.
Why Choose Raspberry Pi for IoT?
Raspberry Pi offers several advantages for IoT projects:
- Cost-Effective: Raspberry Pi is one of the most affordable options for building IoT systems.
- Open Source: With a wide range of open-source software and libraries, Raspberry Pi allows for extensive customization.
- Community Support: A vibrant community of developers and enthusiasts provides ample resources and tutorials.
IoT Basics
Understanding the fundamentals of IoT is essential before diving into remote IoT setups. IoT, or the Internet of Things, refers to the network of physical devices embedded with sensors, software, and connectivity, enabling them to exchange data. This section will cover the basic components and principles of IoT.
Key Components of IoT
The following components are crucial for any IoT system:
- Sensors: Devices that collect data from the environment.
- Connectivity: Methods of transmitting data, such as Wi-Fi, Bluetooth, or cellular networks.
- Data Processing: Systems that analyze and interpret the collected data.
Router Security
When setting up a remote IoT system, ensuring the security of your router is paramount. A router acts as the gateway between your local network and the internet, making it a critical component in maintaining the security of your IoT devices.
Best Practices for Router Security
To enhance router security, consider the following tips:
- Change default passwords and usernames.
- Enable WPA3 encryption for wireless connections.
- Regularly update firmware to patch vulnerabilities.
Remote Access Methods
Accessing IoT devices remotely requires specific methods to ensure both functionality and security. This section will explore various remote access methods suitable for Raspberry Pi-based IoT setups.
SSH: Secure Shell
SSH is a widely used protocol for secure remote access. It encrypts data transmission and provides authentication mechanisms to ensure secure connections.
VPN Solutions
Using a Virtual Private Network (VPN) can significantly enhance the security of your remote IoT setup. A VPN creates a secure tunnel between your device and the internet, protecting sensitive data from interception.
Popular VPN Options for Raspberry Pi
Some popular VPN solutions for Raspberry Pi include:
- OpenVPN
- WireGuard
- ProtonVPN
Port Forwarding
Port forwarding is a technique used to allow external devices to access services hosted on a local network. This section will explain how to configure port forwarding for your IoT devices behind a router.
Steps to Configure Port Forwarding
Follow these steps to set up port forwarding:
- Log in to your router's admin panel.
- Locate the port forwarding settings.
- Specify the internal IP address and port number of your Raspberry Pi.
Cloud-Based Options
Cloud-based solutions offer an alternative to traditional remote access methods. Platforms like AWS IoT Core and Google Cloud IoT provide scalable and secure environments for managing IoT devices.
Advantages of Cloud-Based IoT
Cloud-based IoT solutions offer several advantages:
- Scalability
- Advanced analytics
- Seamless integration with other services
Best Practices
To ensure a successful remote IoT setup, adhere to the following best practices:
Security First
Prioritize security by implementing strong authentication mechanisms, regular updates, and monitoring for suspicious activities.
Common Issues and Solutions
Despite careful planning, issues may arise during the setup of remote IoT systems. This section will address common problems and provide solutions.
Troubleshooting Tips
Here are some troubleshooting tips:
- Check network connectivity.
- Verify firewall settings.
- Ensure proper configuration of SSH or VPN.
Conclusion
In conclusion, setting up the best remote IoT behind router for Raspberry Pi involves a combination of hardware, software, and security measures. By following the guidelines outlined in this article, you can create a secure and efficient remote IoT system that meets your needs.
We encourage you to share your experiences and ask questions in the comments section below. Additionally, explore other articles on our site for more insights into IoT and Raspberry Pi projects.
For further reading, consider the following sources: