Setting up a Virtual Private Cloud (VPC) network using a Raspberry Pi is an excellent way to explore cloud networking and infrastructure management at a smaller scale. Whether you're a hobbyist, a student, or a professional looking to deepen your understanding of networking, Raspberry Pi offers a cost-effective platform to experiment with VPC configurations. In this guide, we will delve into the intricacies of building a Raspberry Pi VPC network example, step by step, while ensuring you gain practical insights into its applications.
Virtual Private Cloud (VPC) networks have become a cornerstone of modern cloud computing, allowing users to create isolated environments for their applications and services. By leveraging the Raspberry Pi, you can simulate a VPC setup locally, providing hands-on experience with network segmentation, routing, and security. This article will walk you through the process, equipping you with the knowledge to design and deploy your own Raspberry Pi VPC network.
From setting up the necessary hardware and software to configuring subnets, routing tables, and firewalls, this guide will ensure that you are well-prepared to tackle the challenges of building a Raspberry Pi VPC network. Let’s dive in!
Table of Contents
- Introduction to VPC Networks
- Overview of Raspberry Pi
- Hardware Requirements for Raspberry Pi VPC
- Software Setup for Raspberry Pi
- Raspberry Pi VPC Architecture
- Subnet Configuration
- Routing Table Setup
- Firewall Rules for Security
- Example Scenario: Raspberry Pi VPC Network
- Troubleshooting Tips
- Conclusion and Next Steps
Introduction to VPC Networks
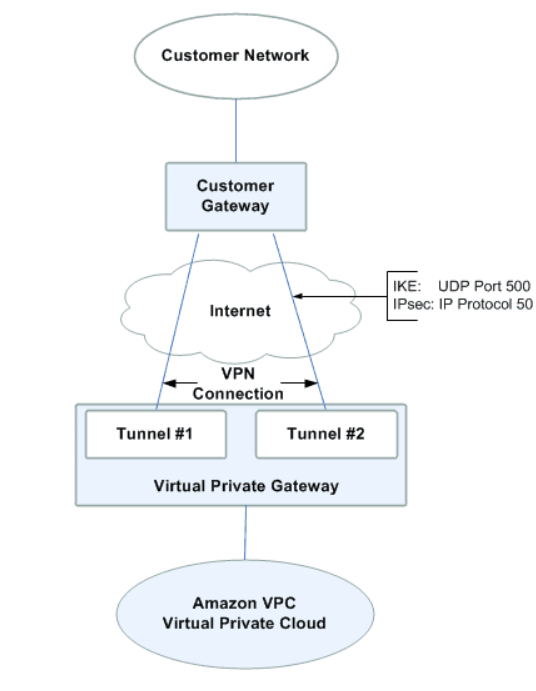
A Virtual Private Cloud (VPC) network is a logically isolated section of a cloud where you can deploy your applications and services. It provides a secure and scalable environment, enabling you to control access, manage resources, and define network rules. In this section, we will explore the fundamental concepts of VPC networks and their relevance to Raspberry Pi projects.
VPC networks are essential for:
- Ensuring secure communication between services.
- Managing network traffic with custom routing rules.
- Segmenting resources into private subnets for enhanced security.
By replicating these functionalities on a Raspberry Pi, you can gain hands-on experience with cloud networking principles.
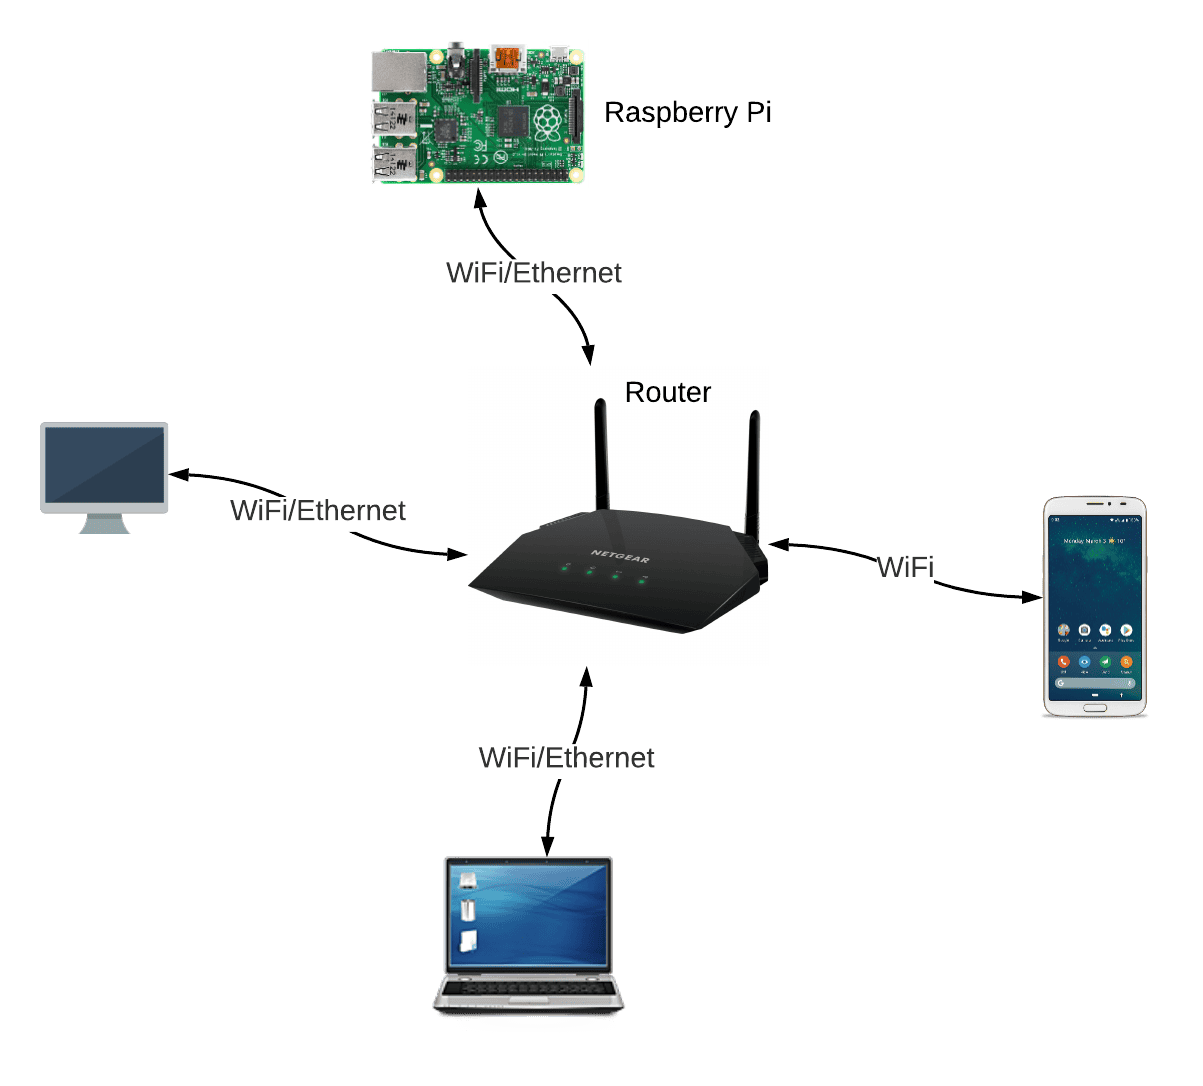
Overview of Raspberry Pi
Raspberry Pi is a versatile, single-board computer designed for educational purposes and DIY projects. Its affordability and ease of use make it an ideal platform for experimenting with VPC network setups. Let’s take a closer look at the features that make Raspberry Pi suitable for this task:
Key Features of Raspberry Pi
- Compact size and low power consumption.
- Support for multiple operating systems, including Linux distributions.
- Extensive community support and documentation.
Raspberry Pi models such as the Raspberry Pi 4 and Raspberry Pi Zero W offer robust performance and built-in Wi-Fi capabilities, making them perfect for networking experiments.
Hardware Requirements for Raspberry Pi VPC
Before setting up your Raspberry Pi VPC network, ensure you have the following hardware components:
- Raspberry Pi board (preferably Raspberry Pi 4 or higher).
- MicroSD card with a minimum capacity of 16GB.
- Power supply compatible with your Raspberry Pi model.
- Ethernet cables for wired connections (optional).
- Wi-Fi router for wireless networking.
Having the right hardware will ensure a smooth setup process and optimal performance for your VPC network.
Software Setup for Raspberry Pi
Once you have the hardware ready, it’s time to configure the software environment. Follow these steps to prepare your Raspberry Pi for VPC network deployment:
Step 1: Install the Operating System
Download the Raspberry Pi OS image from the official website and flash it onto your MicroSD card using a tool like Balena Etcher. Insert the card into your Raspberry Pi and boot it up.
Step 2: Update the System
Run the following commands to update your Raspberry Pi:
sudo apt update
sudo apt upgrade
Step 3: Enable SSH
SSH allows remote access to your Raspberry Pi, which is crucial for managing your VPC network. Enable SSH by navigating to the Raspberry Pi Configuration menu or by creating an empty file named "ssh" on the boot partition of your MicroSD card.
Raspberry Pi VPC Architecture
A Raspberry Pi VPC network typically consists of the following components:
- Private and public subnets.
- Routing tables to manage traffic between subnets.
- Firewall rules to control inbound and outbound connections.
By designing a clear architecture, you can ensure that your VPC network operates efficiently and securely.
Subnet Configuration
Subnets are essential for organizing your VPC network. Follow these steps to configure subnets on your Raspberry Pi:
Step 1: Define Subnet Ranges
Choose IP address ranges for your subnets. For example:
- Private subnet: 192.168.1.0/24
- Public subnet: 192.168.2.0/24
Step 2: Configure Network Interfaces
Edit the /etc/network/interfaces file to assign IP addresses to your Raspberry Pi’s network interfaces.
Routing Table Setup
Routing tables determine how traffic flows between subnets. Use the following commands to configure routing on your Raspberry Pi:
sudo ip route add 192.168.2.0/24 via 192.168.1.1
This command establishes a route from the private subnet to the public subnet via the gateway address.
Firewall Rules for Security
Securing your VPC network is crucial. Implement firewall rules using tools like iptables to control access:
- Allow HTTP and HTTPS traffic to your public subnet.
- Restrict SSH access to trusted IP addresses.
- Block unauthorized inbound connections to your private subnet.
Regularly review and update your firewall rules to maintain network security.
Example Scenario: Raspberry Pi VPC Network
Imagine you are setting up a Raspberry Pi VPC network to host a personal website. Follow this example scenario to apply the concepts discussed:
Step 1: Deploy a Web Server
Install a web server like Apache or Nginx on your Raspberry Pi and configure it to serve your website files.
Step 2: Configure DNS
Set up a DNS server to map your domain name to the public IP address of your Raspberry Pi.
Step 3: Test the Network
Verify that your website is accessible from both the private and public subnets while adhering to the defined firewall rules.
Troubleshooting Tips
Encountering issues during setup is common. Here are some tips to help you troubleshoot:
- Check network interface configurations for errors.
- Verify routing table entries to ensure proper traffic flow.
- Test firewall rules to confirm they are functioning as intended.
Refer to the official Raspberry Pi documentation and community forums for additional support.
Conclusion and Next Steps
In this comprehensive guide, we explored the process of setting up a Raspberry Pi VPC network example. From understanding the basics of VPC networks to configuring subnets, routing tables, and firewall rules, you now have the knowledge to build your own Raspberry Pi VPC network.
To further enhance your skills, consider experimenting with advanced features such as load balancing, virtual private networks (VPNs), and automated deployment scripts. Share your experiences and insights in the comments below, and don’t forget to explore other articles on our site for more networking tips and tricks!
Remember, the world of networking is vast and ever-evolving. Keep learning and stay curious!