RemoteIoT behind router with a Raspberry Pi provides an innovative way to access your devices remotely without spending a dime. This technology has revolutionized how users interact with their IoT setups from anywhere in the world. By leveraging open-source tools and configurations, you can establish secure connections without incurring additional costs.
As more people adopt smart home devices and IoT systems, the demand for remote access solutions continues to rise. However, many commercial options come with subscription fees or hidden costs. This article explores how to set up a cost-free RemoteIoT system using Raspberry Pi, ensuring seamless connectivity while maintaining security.
Whether you're a tech enthusiast, a hobbyist, or a professional looking to optimize your IoT infrastructure, this guide will walk you through every step. From configuring your router to securing your network, we'll cover everything you need to know to make the most of your Raspberry Pi remotely.
Table of Contents
- Introduction to RemoteIoT Behind Router
- Raspberry Pi: An Overview
- Remote Access Options Without Cost
- Setup Guide for RemoteIoT Behind Router
- Implementing Security Measures
- Troubleshooting Common Issues
- Advantages and Disadvantages
- Comparison with Commercial Solutions
- Real-World Use Cases
- Conclusion and Next Steps
Introduction to RemoteIoT Behind Router
RemoteIoT behind router is a concept that allows users to access IoT devices connected to their local network from anywhere in the world. With the increasing popularity of IoT devices, the ability to control and monitor them remotely has become essential. Using a Raspberry Pi as a central hub, you can create a secure and cost-effective solution for remote access.
This approach eliminates the need for expensive third-party services or commercial subscriptions. Instead, it relies on open-source software and configurations that can be tailored to your specific needs. By following the steps outlined in this article, you can set up a fully functional RemoteIoT system behind your router using a Raspberry Pi.
Before diving into the technical details, it's important to understand the basics of Raspberry Pi and its capabilities. This knowledge will help you make informed decisions when configuring your system.
Raspberry Pi: An Overview
What is Raspberry Pi?
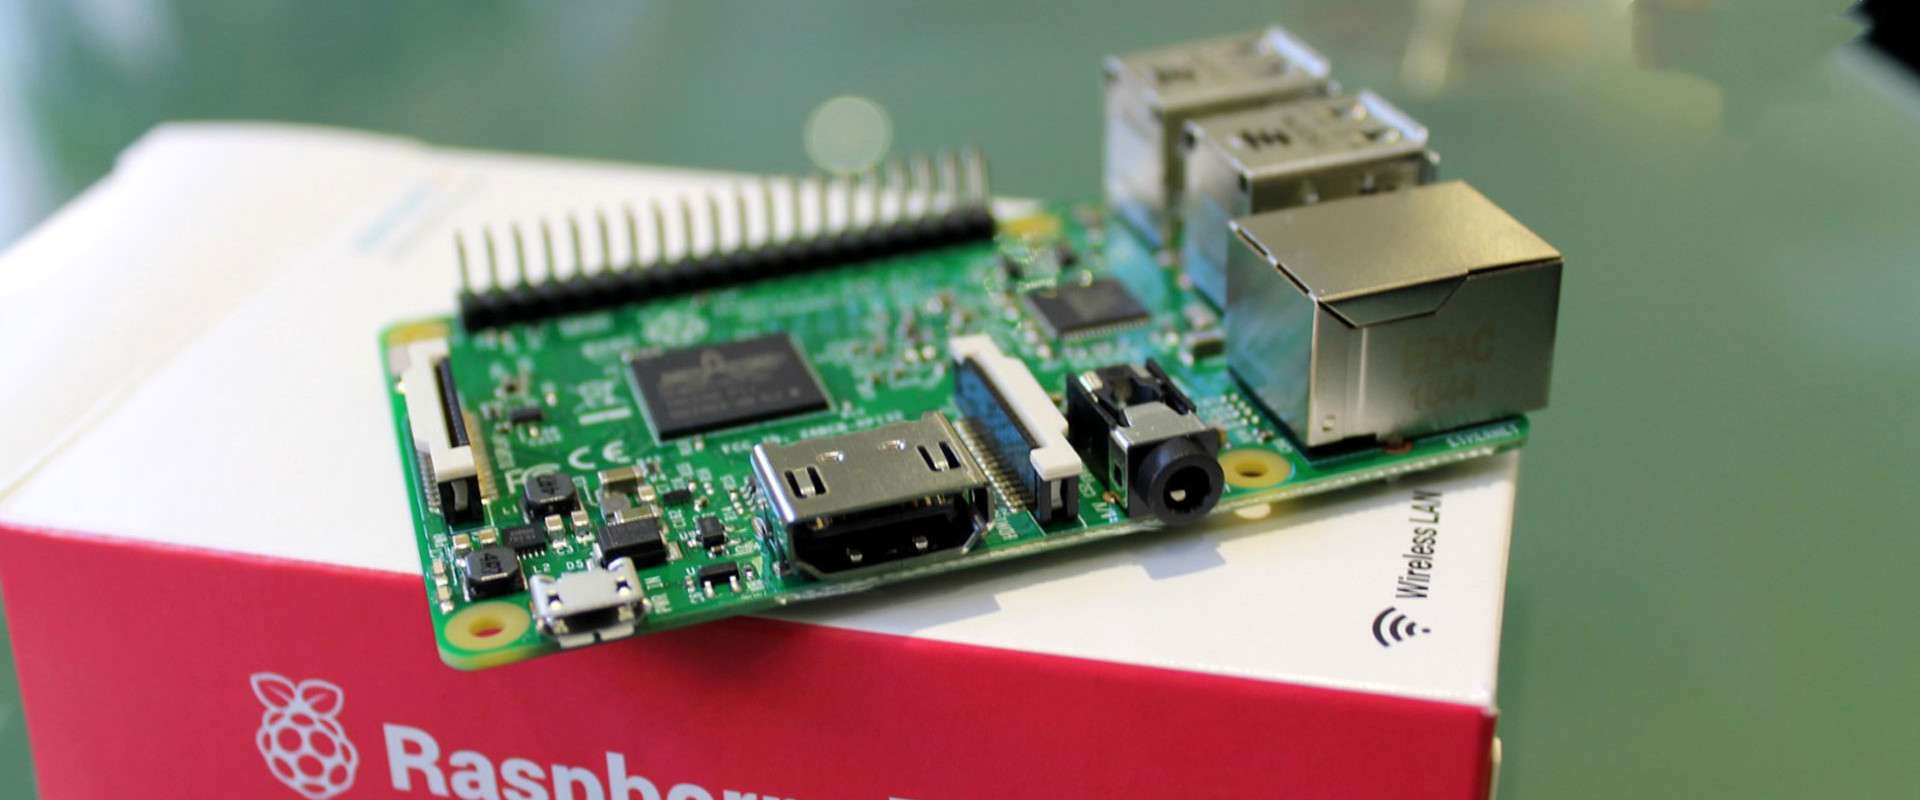
Raspberry Pi is a series of small single-board computers developed by the Raspberry Pi Foundation. These devices are designed to promote the teaching of basic computer science in schools and developing countries. Despite their small size, Raspberry Pi boards are powerful enough to handle a wide range of tasks, from web servers to media centers and even IoT applications.
Key Features of Raspberry Pi
- Compact and lightweight design
- Low power consumption
- Support for multiple operating systems
- Extensive community support and resources
- Compatibility with various sensors and peripherals
These features make Raspberry Pi an ideal choice for building a RemoteIoT system. Its affordability and flexibility allow users to experiment and innovate without breaking the bank.
Remote Access Options Without Cost
When setting up a RemoteIoT system behind a router, there are several free options available for remote access. These methods leverage existing infrastructure and protocols to provide secure connections without incurring additional costs.
Port Forwarding
Port forwarding involves configuring your router to direct incoming traffic to a specific device on your local network. This method allows you to access your Raspberry Pi and connected IoT devices from outside your network. While effective, port forwarding requires careful configuration to ensure security.
Dynamic DNS
Dynamic DNS (DDNS) services enable you to assign a domain name to your router's IP address. This makes it easier to access your network remotely, even if your IP address changes. Many DDNS providers offer free plans that can be used in conjunction with Raspberry Pi for RemoteIoT applications.
SSH Tunneling
Secure Shell (SSH) tunneling creates an encrypted connection between your local machine and Raspberry Pi. This method provides a secure way to access your IoT devices without exposing them to the public internet. SSH tunneling is particularly useful for sensitive applications where data security is paramount.
Setup Guide for RemoteIoT Behind Router
Setting up a RemoteIoT system behind a router with Raspberry Pi involves several steps. Below is a comprehensive guide to help you configure your system effectively.
Step 1: Prepare Your Raspberry Pi
Start by installing the latest version of Raspberry Pi OS on your device. Ensure that your Raspberry Pi is connected to your local network and has a static IP address assigned. This will make it easier to manage and access your device remotely.
Step 2: Configure Port Forwarding
Log in to your router's admin interface and navigate to the port forwarding settings. Add a new rule to forward incoming traffic on a specific port (e.g., 22 for SSH) to your Raspberry Pi's IP address. Save the changes and test the connection to ensure everything is working as expected.
Step 3: Set Up Dynamic DNS
Sign up for a free DDNS service and follow the instructions to link your router's IP address to a domain name. Update your router's settings to automatically send IP address changes to the DDNS provider. This will ensure that you can always access your network using the same domain name.
Step 4: Enable SSH Access
Enable SSH on your Raspberry Pi by running the following command in the terminal:
sudo raspi-config
Navigate to "Interfacing Options" and enable SSH. Once enabled, you can connect to your Raspberry Pi from any device using an SSH client.
Implementing Security Measures
Security is a critical consideration when setting up a RemoteIoT system. Without proper safeguards, your network and devices could be vulnerable to unauthorized access. Below are some best practices to enhance the security of your setup.
Use Strong Passwords
Ensure that all accounts on your Raspberry Pi and router have strong, unique passwords. Avoid using default credentials or easily guessable combinations.
Enable Two-Factor Authentication
Two-factor authentication (2FA) adds an extra layer of security by requiring a second form of verification in addition to your password. Many SSH clients and DDNS providers support 2FA, making it easy to implement.
Regularly Update Software
Keep your Raspberry Pi's operating system and installed software up to date. Regular updates ensure that security vulnerabilities are patched and your system remains protected against potential threats.
Troubleshooting Common Issues
Despite careful planning, issues can arise when setting up a RemoteIoT system. Below are some common problems and their solutions.
Connection Issues
If you're unable to connect to your Raspberry Pi remotely, check the following:
- Ensure that port forwarding is correctly configured on your router
- Verify that your DDNS domain name is correctly linked to your router's IP address
- Test the connection using a different network or device
Security Alerts
If you receive security alerts or notices, review your system's logs to identify potential threats. Update your firewall rules and consider implementing additional security measures as needed.
Advantages and Disadvantages
Like any technology, RemoteIoT behind router with Raspberry Pi has its pros and cons. Below is a summary of the key advantages and disadvantages:
Advantages
- Cost-effective solution with no recurring fees
- Highly customizable and adaptable to various use cases
- Strong community support and extensive resources
Disadvantages
- Requires technical knowledge and initial setup effort
- Potential security risks if not properly configured
- Dependent on internet connectivity and router stability
Comparison with Commercial Solutions
While commercial RemoteIoT solutions offer convenience and support, they often come with subscription fees and limited customization options. By contrast, using Raspberry Pi for remote access provides greater flexibility and cost savings. However, it requires more effort in terms of setup and maintenance.
Consider your specific needs and technical expertise when deciding between a DIY Raspberry Pi solution and a commercial alternative. For many users, the benefits of a Raspberry Pi-based system outweigh the initial investment of time and effort.
Real-World Use Cases
RemoteIoT behind router with Raspberry Pi has numerous practical applications across various industries. Below are some examples:
Smart Home Automation
Control and monitor smart home devices such as lights, thermostats, and security systems from anywhere in the world. This setup allows homeowners to optimize energy usage and enhance security.
Remote Monitoring of Industrial Equipment
Manufacturers can use Raspberry Pi to monitor the status of industrial equipment in real time. This enables predictive maintenance and reduces downtime, improving overall efficiency.
Environmental Monitoring
Researchers and environmentalists can deploy Raspberry Pi-based systems to collect data on air quality, water levels, and other environmental factors. This information can be accessed remotely for analysis and decision-making.
Conclusion and Next Steps
RemoteIoT behind router with Raspberry Pi offers a powerful and cost-effective solution for accessing IoT devices remotely. By following the steps outlined in this article, you can create a secure and functional system tailored to your specific needs. Remember to prioritize security and regularly update your setup to protect against potential threats.
We encourage you to share your thoughts and experiences in the comments section below. If you found this article helpful, please consider sharing it with others who might benefit from the information. For more in-depth guides and resources, explore our other articles on Raspberry Pi and IoT applications.