Connecting your Raspberry Pi behind a router can seem challenging, but with the right steps, you can ensure seamless connectivity for various projects and applications. Whether you're a beginner or an advanced user, this guide will walk you through everything you need to know about setting up your Raspberry Pi behind a router. From basic configurations to advanced troubleshooting, we’ve got you covered.
As more individuals and businesses leverage the power of Raspberry Pi for home automation, IoT projects, and server hosting, understanding how to properly configure your device behind a router is essential. This setup ensures that your Raspberry Pi operates efficiently within your network while maintaining security and performance.
This article is designed to provide a step-by-step guide to connecting your Raspberry Pi behind a router. We’ll explore essential configurations, security considerations, and troubleshooting tips to help you achieve a stable and reliable connection. Let’s dive in!
Table of Contents
- Introduction to Raspberry Pi
- Why Connect Raspberry Pi Behind a Router?
- Basic Setup for Raspberry Pi
- Configuring Your Router
- Understanding Port Forwarding
- Security Considerations
- Troubleshooting Common Issues
- Advanced Features and Configurations
- Applications of Raspberry Pi Behind Router
- Conclusion
Introduction to Raspberry Pi
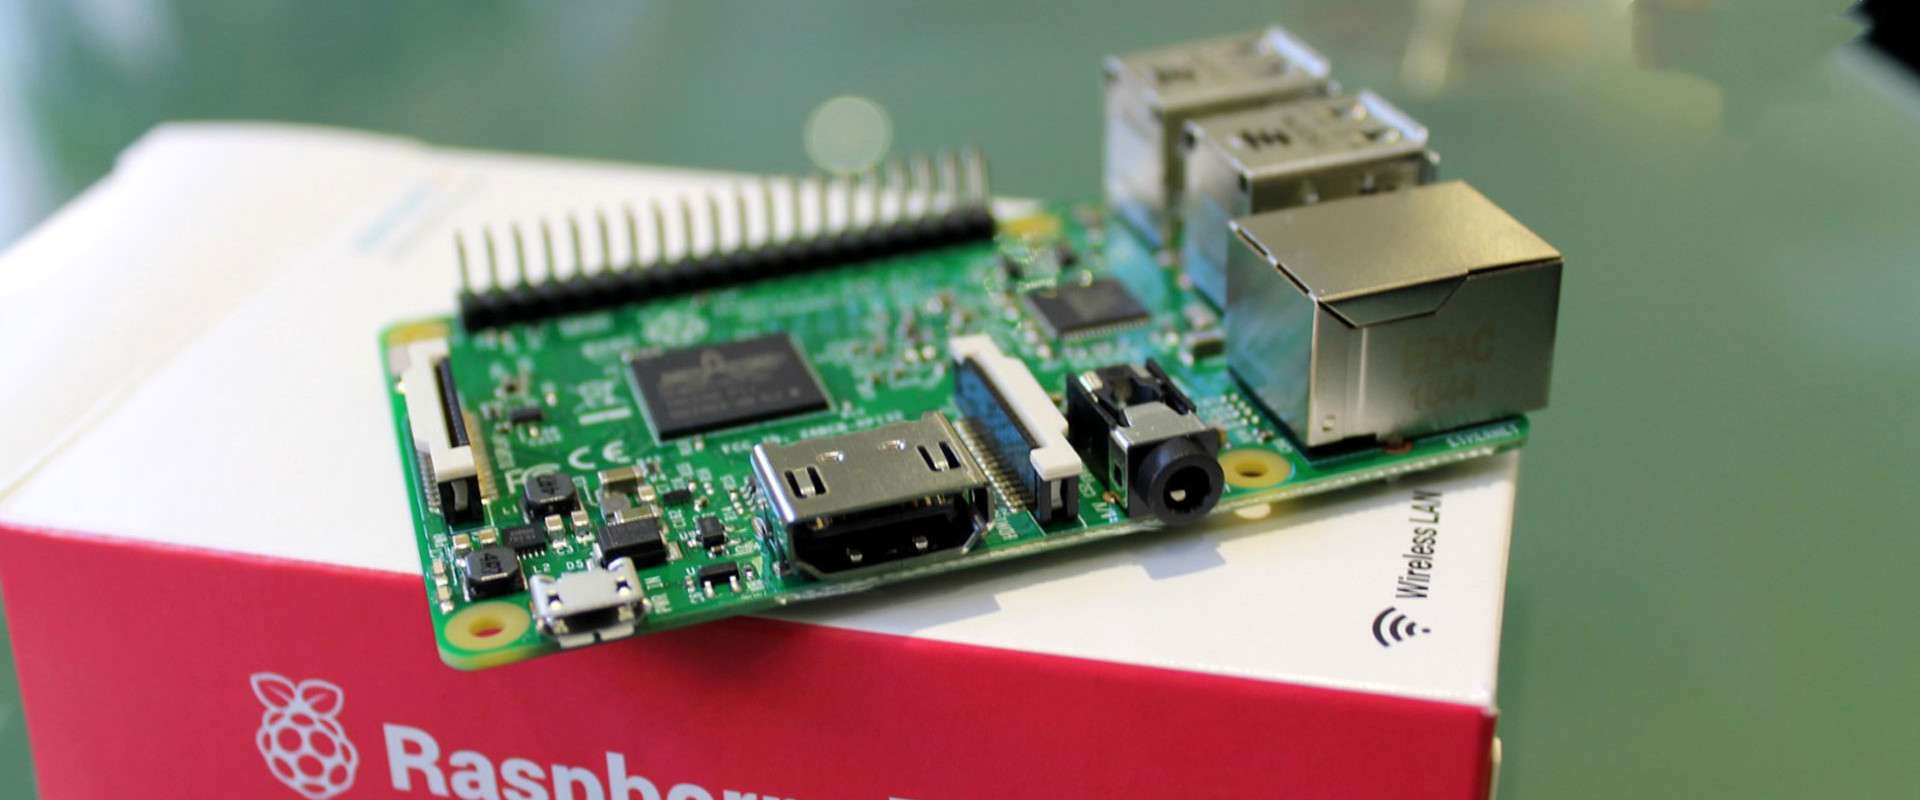
Raspberry Pi is a versatile single-board computer that has revolutionized how people approach computing and electronics. Since its launch in 2012, it has become a go-to device for hobbyists, educators, and professionals alike. Its affordability, compact size, and expandable capabilities make it an ideal choice for a wide range of projects, from simple home automation to complex server setups.
Connecting Raspberry Pi behind a router allows you to integrate the device into your existing network infrastructure. This setup is crucial for maintaining security and ensuring that your Raspberry Pi operates efficiently within your home or office network.
Key Features of Raspberry Pi
- Compact and lightweight design
- Support for multiple operating systems
- Expandable through GPIO pins
- Cost-effective and energy-efficient
Why Connect Raspberry Pi Behind a Router?
Connecting your Raspberry Pi behind a router offers several advantages. First, it enhances security by isolating your device from direct internet exposure, reducing the risk of unauthorized access. Second, it ensures stable connectivity by leveraging your router’s capabilities, such as DHCP and NAT (Network Address Translation).
Additionally, placing your Raspberry Pi behind a router simplifies network management. You can easily configure settings like IP addresses, port forwarding, and firewall rules without compromising the overall performance of your network.
Benefits of Using a Router
- Improved network security
- Stable and reliable connectivity
- Centralized network management
- Scalability for multiple devices
Basic Setup for Raspberry Pi
Before connecting your Raspberry Pi behind a router, it’s important to complete the basic setup. This includes installing the operating system, configuring network settings, and ensuring that your device is properly powered.
Step-by-Step Basic Setup
- Download the Raspberry Pi OS image from the official website.
- Use a tool like Balena Etcher to flash the image onto an SD card.
- Insert the SD card into your Raspberry Pi and connect it to a power source.
- Connect your Raspberry Pi to your router using an Ethernet cable or Wi-Fi.
- Log in to the Raspberry Pi OS and update the system using the terminal command:
sudo apt update && sudo apt upgrade.
Configuring Your Router
Once your Raspberry Pi is set up, the next step is to configure your router. This involves assigning a static IP address to your Raspberry Pi and setting up port forwarding rules if necessary.
Assigning a Static IP Address
To assign a static IP address:
- Log in to your router’s admin panel using its IP address (usually
192.168.0.1or192.168.1.1). - Locate the DHCP reservation section and add your Raspberry Pi’s MAC address.
- Assign a fixed IP address within your network’s range.
Understanding Port Forwarding
Port forwarding is essential if you want to access your Raspberry Pi from outside your local network. This process involves directing incoming traffic from a specific port on your router to your Raspberry Pi’s IP address.
Steps to Configure Port Forwarding
- Log in to your router’s admin panel.
- Go to the port forwarding section and create a new rule.
- Specify the external port, internal port, and the IP address of your Raspberry Pi.
- Save the changes and test the configuration using a tool like YouGetSignal.
Security Considerations
When connecting your Raspberry Pi behind a router, security should be a top priority. Implementing strong security measures will protect your device and network from potential threats.
Best Practices for Security
- Use strong passwords for your Raspberry Pi and router.
- Enable a firewall on your Raspberry Pi using
ufw. - Regularly update your operating system and installed software.
- Monitor network traffic for suspicious activity.
Troubleshooting Common Issues
Even with proper setup and configuration, issues can arise when connecting your Raspberry Pi behind a router. Below are some common problems and their solutions.
Common Issues and Solutions
- No internet connectivity: Check your Ethernet or Wi-Fi settings and ensure that your router is functioning properly.
- Port forwarding not working: Verify the port forwarding rules and ensure that your ISP allows the specified ports.
- Slow performance: Optimize your network settings and reduce unnecessary background processes on your Raspberry Pi.
Advanced Features and Configurations
For advanced users, there are several features and configurations that can enhance the functionality of your Raspberry Pi behind a router. These include setting up a VPN, configuring a DNS server, and enabling remote access.
Setting Up a VPN
A Virtual Private Network (VPN) can provide an additional layer of security for your Raspberry Pi. By routing all traffic through a secure connection, you can protect sensitive data and maintain privacy.
Applications of Raspberry Pi Behind Router
Connecting your Raspberry Pi behind a router opens up a world of possibilities. Here are some popular applications:
Popular Use Cases
- Home automation systems
- Media servers for streaming content
- Web servers for hosting websites
- IoT devices for monitoring and control
Conclusion
Connecting your Raspberry Pi behind a router is a crucial step in setting up a secure and efficient network environment. By following the steps outlined in this guide, you can ensure that your device operates seamlessly within your network while maintaining optimal performance and security.
We encourage you to share your experiences and tips in the comments below. Additionally, feel free to explore other articles on our site for more information on Raspberry Pi and related technologies. Together, let’s build a smarter, more connected world!
Data sources and references: