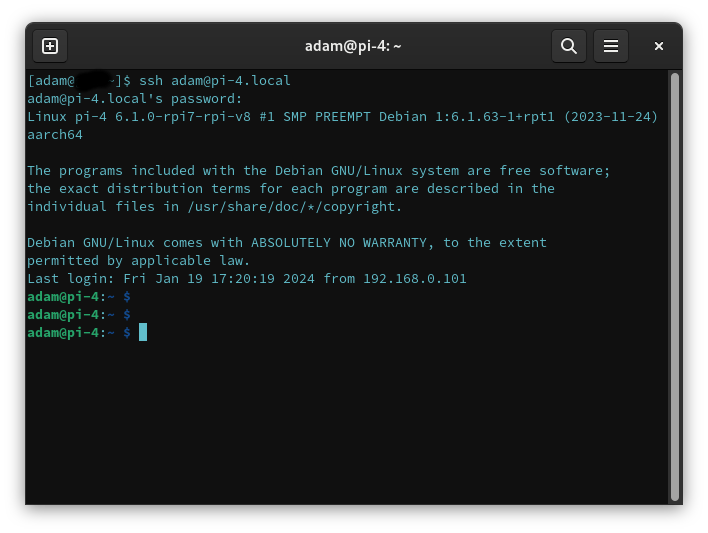
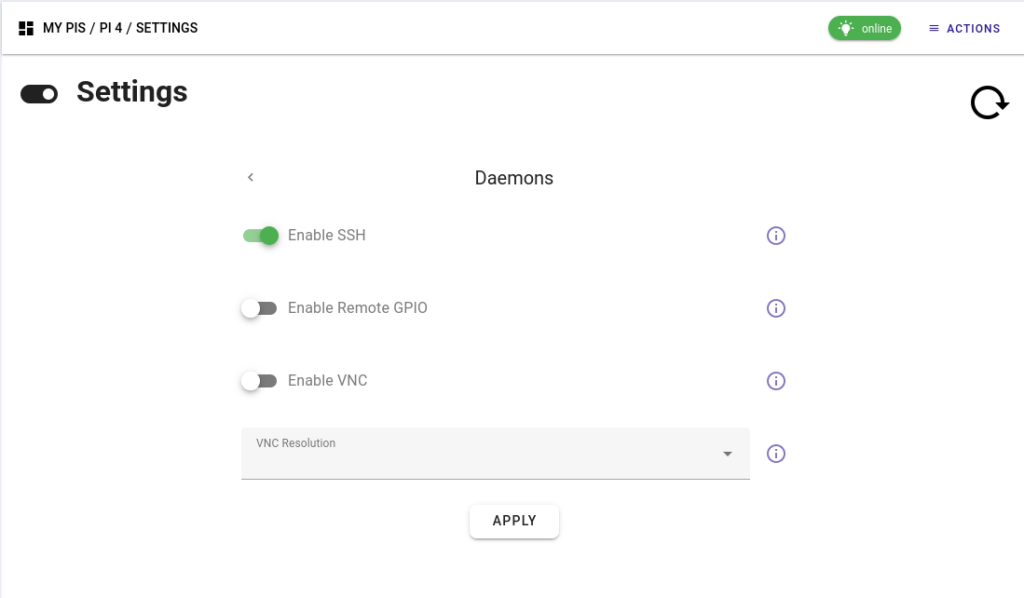
Accessing Raspberry Pi SSH remotely has become increasingly important for users who want to control their devices from anywhere in the world. Whether you're managing a home server, running a media center, or automating IoT projects, remote access via SSH offers convenience and flexibility. In this article, we will explore step-by-step methods to securely connect to your Raspberry Pi using SSH from remote locations.
SSH (Secure Shell) is a cryptographic network protocol that enables secure communication between devices over an unsecured network. It is widely used for remote system administration and file transfers. By mastering how to access Raspberry Pi SSH remotely, you can significantly enhance your ability to manage and troubleshoot your device from afar.
This guide will cover everything you need to know, including setting up SSH on your Raspberry Pi, configuring port forwarding, using third-party tools like ngrok, and ensuring security best practices to protect your device. Whether you're a beginner or an advanced user, this article will provide valuable insights into remote SSH access.
Table of Contents
- Setting Up SSH on Raspberry Pi
- Configuring Port Forwarding for Remote Access
- Using ngrok for Easy Remote Access
- Generating and Using SSH Keys for Enhanced Security
- Setting Up Dynamic DNS for Remote Connections
- Third-Party Tools for Remote SSH Access
- Security Best Practices for Remote SSH Access
- Troubleshooting Common Issues
- Optimizing SSH Performance
- Conclusion and Next Steps
Setting Up SSH on Raspberry Pi
Before you can access Raspberry Pi SSH remotely, you need to ensure that SSH is enabled on your device. By default, SSH may not be activated on your Raspberry Pi, so this step is crucial. Follow these steps to enable SSH on your Raspberry Pi:
- Boot your Raspberry Pi and log in to the desktop environment.
- Open the terminal and type the following command:
sudo raspi-config. - Select "Interfacing Options" and navigate to "SSH".
- Choose "Yes" to enable SSH and confirm your selection.
- Reboot your Raspberry Pi to apply the changes.
Alternatively, if you're setting up a headless Raspberry Pi (without a monitor or keyboard), you can enable SSH by creating an empty file named "ssh" on the boot partition of your SD card. This method is particularly useful when configuring a new device.
Verifying SSH Status
To confirm that SSH is active on your Raspberry Pi, use the following command in the terminal:
sudo systemctl status ssh
This will display the status of the SSH service. If it shows "active (running)", SSH is correctly configured on your device.
Configuring Port Forwarding for Remote Access
Port forwarding is essential when accessing Raspberry Pi SSH remotely over the internet. It allows you to direct incoming traffic from your router to your Raspberry Pi's local IP address. Follow these steps to configure port forwarding:
- Log in to your router's admin interface using its IP address (commonly 192.168.0.1 or 192.168.1.1).
- Locate the "Port Forwarding" or "Virtual Servers" section in the router's settings.
- Create a new rule and specify the following details:
- Service Port: 22 (default SSH port)
- Private IP Address: Your Raspberry Pi's local IP address (e.g., 192.168.1.100)
- Private Port: 22
- Protocol: TCP
- Save the settings and restart your router if necessary.
Once port forwarding is set up, you can connect to your Raspberry Pi using your public IP address and the specified port number.
Checking Your Public IP Address
To find your public IP address, visit a website like whatismyip.com or use the following command in your terminal:
curl ifconfig.me
Make sure to note down this address, as it will be used to connect to your Raspberry Pi from remote locations.
Using ngrok for Easy Remote Access
ngrok is a popular tool that simplifies remote SSH access by creating a secure tunnel between your local device and the internet. It eliminates the need for complex router configurations and dynamic DNS setups. Here's how to use ngrok with your Raspberry Pi:
- Download and install ngrok on your Raspberry Pi from the official website.
- Run the following command in the terminal to start ngrok:
./ngrok tcp 22 - ngrok will generate a unique public URL that you can use to connect to your Raspberry Pi via SSH.
This method is ideal for temporary remote access or when working in environments where port forwarding is not feasible.
Advantages of Using ngrok
- No need to configure port forwarding on your router.
- Automatically handles dynamic IP changes.
- Provides an encrypted connection for secure communication.
Generating and Using SSH Keys for Enhanced Security
Using password-based authentication for SSH can expose your Raspberry Pi to brute-force attacks. A more secure approach is to use SSH keys for authentication. Here's how to generate and use SSH keys:
- On your local machine, open the terminal and run the following command:
ssh-keygen -t rsa -b 4096 - Follow the prompts to save the key pair and set a passphrase (optional).
- Copy the public key to your Raspberry Pi using the following command:
ssh-copy-id pi@your_raspberry_pi_ip - Test the connection by logging in to your Raspberry Pi without entering a password.
SSH keys provide a higher level of security compared to passwords and reduce the risk of unauthorized access.
Disabling Password Authentication
Once SSH keys are set up, you can disable password authentication to further enhance security. Edit the SSH configuration file using the following command:
sudo nano /etc/ssh/sshd_config
Find the line "PasswordAuthentication yes" and change it to "PasswordAuthentication no". Restart the SSH service to apply the changes:
sudo systemctl restart ssh
Setting Up Dynamic DNS for Remote Connections
If your internet service provider assigns a dynamic IP address to your router, connecting to your Raspberry Pi remotely can be challenging. Dynamic DNS (DDNS) services allow you to associate a domain name with your changing IP address. Here's how to set up DDNS:
- Sign up for a DDNS service provider like No-IP or DuckDNS.
- Install the DDNS client on your Raspberry Pi by following the provider's instructions.
- Configure the client to update your domain name with your current IP address automatically.
With DDNS in place, you can use a consistent domain name to connect to your Raspberry Pi, regardless of IP address changes.
Popular DDNS Providers
- No-IP
- DuckDNS
- FreeDNS
Third-Party Tools for Remote SSH Access
Several third-party tools can simplify remote SSH access to your Raspberry Pi. These tools often provide additional features like user management, session logging, and mobile app support. Some popular options include:
- Termius
- JumpServer
- SSHRC
Each tool has its own strengths, so it's worth exploring them to find the one that best suits your needs.
Using Termius for Mobile SSH Access
Termius is a versatile SSH client available for iOS and Android devices. It allows you to connect to your Raspberry Pi remotely from your smartphone or tablet. Key features include:
- Secure connections with SSH keys
- Profile management for multiple devices
- Clipboard support for copying and pasting commands
Security Best Practices for Remote SSH Access
Security is paramount when accessing Raspberry Pi SSH remotely. Follow these best practices to protect your device:
- Use strong, unique passwords for all user accounts.
- Enable two-factor authentication (2FA) whenever possible.
- Regularly update your Raspberry Pi's operating system and software.
- Monitor SSH logs for suspicious activity using commands like
sudo tail -f /var/log/auth.log. - Limit SSH access to specific IP addresses using firewall rules.
By implementing these measures, you can significantly reduce the risk of unauthorized access to your Raspberry Pi.
Firewall Configuration
Configuring a firewall is an effective way to restrict SSH access to trusted IP addresses. Use the following commands to set up firewall rules on your Raspberry Pi:
sudo ufw allow from trusted_ip_address to any port 22
sudo ufw enable
Troubleshooting Common Issues
Despite careful setup, you may encounter issues when accessing Raspberry Pi SSH remotely. Here are some common problems and their solutions:
- Connection Timeout: Ensure that port forwarding is correctly configured on your router and that your Raspberry Pi's firewall allows incoming SSH connections.
- Permission Denied (publickey): Verify that your SSH key is correctly added to the authorized_keys file on your Raspberry Pi.
- Host Key Verification Failed: Delete the known_hosts file on your local machine and reconnect to the Raspberry Pi.
If the issue persists, consult the SSH logs for more detailed information.
Debugging SSH Connections
To debug SSH connections, use the following command with the verbose option:
ssh -v pi@your_raspberry_pi_ip
This will display detailed information about the connection process, helping you identify potential problems.
Optimizing SSH Performance
SSH performance can be affected by various factors, including network latency, encryption algorithms, and server configuration. Here are some tips to optimize SSH performance:
- Use faster encryption algorithms like AES-128-CBC instead of the default AES-256-CBC.
- Compress data during transmission using the
-Coption in the SSH command. - Limit the number of simultaneous connections to your Raspberry Pi to prevent resource overload.
By fine-tuning these settings, you can achieve faster and more reliable SSH connections.
Conclusion and Next Steps
Accessing Raspberry Pi SSH remotely opens up a world of possibilities for managing and interacting with your device from anywhere in the world. By following the steps outlined in this guide, you can securely and effectively connect to your Raspberry Pi using SSH. Remember to prioritize security by implementing best practices and regularly updating your system.
We encourage you to share your experiences and tips in the comments section below. If you found this article helpful, consider exploring other tutorials on our website to further enhance your Raspberry Pi skills. Happy hacking!
References:


