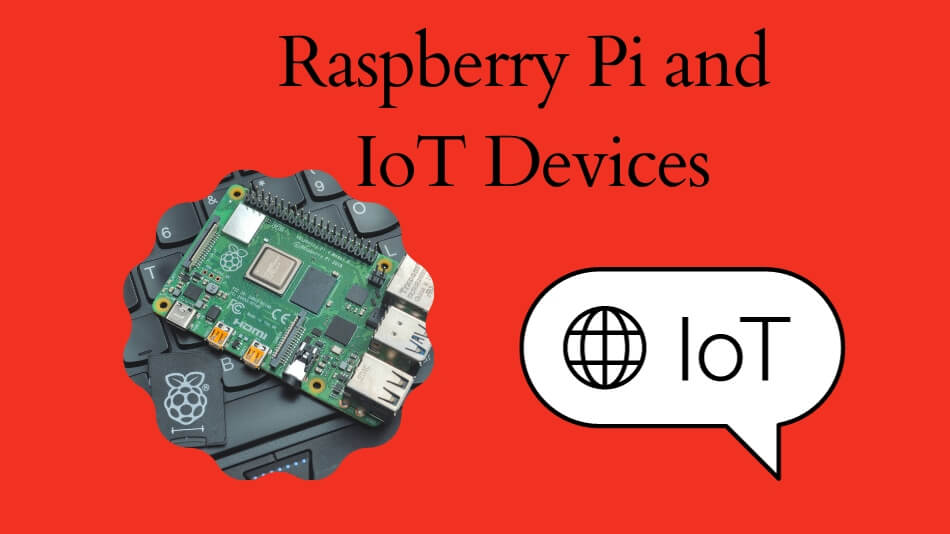
Imagine harnessing the power of the Internet of Things (IoT) without breaking the bank. With Raspberry Pi remote IoT free solutions, you can create a wide range of smart systems that enhance your daily life and streamline operations. From home automation to industrial applications, this versatile single-board computer offers endless possibilities for innovation. Let’s dive into how Raspberry Pi can revolutionize your IoT projects while keeping costs minimal.
In this article, we will explore the concept of Raspberry Pi remote IoT free setups, including step-by-step guidance, essential components, and practical examples. Whether you're a beginner or an experienced developer, this guide will equip you with the knowledge to build functional and cost-effective IoT systems.
By the end of this article, you’ll understand the advantages of using Raspberry Pi for remote IoT projects, learn about its compatibility with various platforms, and discover how to implement these solutions in real-world scenarios. Let’s get started!
Table of Contents
- What is Raspberry Pi Remote IoT?
- Benefits of Using Raspberry Pi for Remote IoT
- Essential Components for Raspberry Pi Remote IoT
- Setting Up Your First IoT Project
- Connecting Devices Remotely
- Programming Languages for IoT Development
- Real-World Applications of Raspberry Pi IoT
- Securing Your IoT System
- Cost-Effective Raspberry Pi IoT Solutions
- Future Trends in Raspberry Pi IoT
What is Raspberry Pi Remote IoT?
Raspberry Pi remote IoT refers to the integration of Raspberry Pi as the central processing unit in Internet of Things (IoT) projects that allow remote control and monitoring. This setup enables users to manage devices and collect data from anywhere in the world, making it ideal for applications such as home automation, environmental monitoring, and industrial control systems.
Raspberry Pi’s affordability and flexibility make it a popular choice for developers and hobbyists alike. By leveraging open-source software and free resources, you can design and deploy IoT solutions without incurring significant costs. The versatility of Raspberry Pi also allows it to interface with a wide range of sensors and actuators, expanding its functionality.
Some key features of Raspberry Pi remote IoT include:
- Low power consumption
- Compact size and portability
- Compatibility with multiple operating systems
- Support for wireless communication protocols like Wi-Fi and Bluetooth
Benefits of Using Raspberry Pi for Remote IoT
Cost Efficiency
Raspberry Pi offers an affordable entry point into the world of IoT. Compared to commercial IoT platforms, Raspberry Pi’s low price tag makes it accessible for individuals and small businesses looking to experiment with smart technologies.
Flexibility and Customization
With Raspberry Pi, you have the freedom to customize your IoT projects according to your specific needs. Its open-source nature allows you to modify and enhance its capabilities using a variety of programming languages and libraries.
Community Support
The Raspberry Pi community is vast and active, providing a wealth of resources, tutorials, and forums where you can seek help and share knowledge. This supportive ecosystem ensures that you’re never alone in your IoT journey.
Essential Components for Raspberry Pi Remote IoT
To build a Raspberry Pi remote IoT system, you’ll need several key components:
- Raspberry Pi Board: Choose a model that suits your project requirements, such as the Raspberry Pi 4 or Raspberry Pi Zero.
- Power Supply: Ensure you have a reliable power source, preferably a USB-C adapter for newer models.
- MicroSD Card: Used to store the operating system and application data.
- Sensors and Actuators: Depending on your project, you may require temperature sensors, motion detectors, relays, or other peripherals.
- Wi-Fi Dongle (optional): For models without built-in Wi-Fi, you’ll need a compatible USB Wi-Fi adapter.
These components form the foundation of any Raspberry Pi remote IoT setup, enabling you to create robust and scalable systems.
Setting Up Your First IoT Project
Step 1: Install the Operating System
Begin by downloading and installing an operating system like Raspbian or Ubuntu onto your MicroSD card. Use tools like Etcher or Balena Etcher to simplify the process.
Step 2: Configure Network Settings
Connect your Raspberry Pi to your local network via Wi-Fi or Ethernet. Configure the network settings to ensure stable connectivity.
Step 3: Develop Your Application
Write or integrate pre-built scripts to interact with your sensors and actuators. Platforms like Node-RED or Python libraries such as GPIO Zero can facilitate development.
Connecting Devices Remotely
Remote connectivity is at the heart of Raspberry Pi IoT. To achieve this, you can utilize:
- SSH (Secure Shell): Allows secure command-line access to your Raspberry Pi from any location.
- VNC (Virtual Network Computing): Provides graphical access to your Raspberry Pi’s desktop environment.
- Web Interfaces: Develop custom web applications to control and monitor your devices through a browser.
By combining these methods, you can ensure seamless remote access to your IoT setup.
Programming Languages for IoT Development
Several programming languages are well-suited for Raspberry Pi remote IoT projects:
- Python: Known for its simplicity and extensive libraries, Python is a popular choice for IoT development.
- C++: Offers high performance and is ideal for resource-intensive applications.
- JavaScript (Node.js): Enables event-driven programming and integrates well with web-based interfaces.
Selecting the right language depends on your project’s complexity and performance requirements.
Real-World Applications of Raspberry Pi IoT
Raspberry Pi remote IoT has been successfully deployed in various industries:
- Home Automation: Control lighting, HVAC systems, and security cameras remotely.
- Agriculture: Monitor soil moisture, temperature, and humidity to optimize crop growth.
- Healthcare: Develop wearable devices for patient monitoring and data collection.
These applications demonstrate the versatility and potential of Raspberry Pi in solving real-world problems.
Securing Your IoT System
Security is a critical consideration when implementing Raspberry Pi remote IoT solutions. Implement the following best practices:
- Use strong passwords and enable two-factor authentication.
- Regularly update your operating system and software to patch vulnerabilities.
- Encrypt data transmissions using protocols like SSL/TLS.
By prioritizing security, you can protect your IoT system from unauthorized access and potential threats.
Cost-Effective Raspberry Pi IoT Solutions
One of the primary advantages of Raspberry Pi remote IoT is its cost-effectiveness. By utilizing free and open-source tools, you can minimize expenses while maximizing functionality. Explore platforms like Home Assistant or OpenHAB for ready-to-use solutions that require minimal setup.
Future Trends in Raspberry Pi IoT
As technology continues to evolve, the future of Raspberry Pi remote IoT looks promising. Emerging trends include:
- Edge Computing: Processing data closer to the source for faster response times.
- Artificial Intelligence Integration: Incorporating AI capabilities to enhance decision-making and automation.
- 5G Connectivity: Leveraging high-speed networks for improved performance and reliability.
Staying informed about these trends will help you stay ahead in the rapidly growing IoT landscape.
Conclusion
Raspberry Pi remote IoT free solutions offer a powerful and affordable way to build smart systems that enhance efficiency and convenience. By understanding the fundamentals, selecting the right components, and implementing best practices, you can create innovative projects that address real-world challenges.
We encourage you to share your thoughts and experiences in the comments section below. Don’t forget to explore our other articles for more insights into the exciting world of IoT. Together, let’s shape the future of connected technology!