Securing your network connections has never been more critical, especially with the increasing number of cyber threats. Raspberry Pi SSH tunnel offers an effective solution to protect your data and maintain privacy. Whether you're a tech enthusiast or a professional, understanding how to set up and use an SSH tunnel on Raspberry Pi is essential for secure communication.
In this digital era, data security is paramount. With the rise of remote work and IoT devices, ensuring secure connections has become a priority for individuals and businesses alike. A Raspberry Pi SSH tunnel serves as a robust tool for encrypting data and protecting sensitive information from prying eyes.
This comprehensive guide will walk you through everything you need to know about Raspberry Pi SSH tunnel, including its benefits, setup process, troubleshooting tips, and best practices. By the end of this article, you'll have a solid understanding of how to leverage this technology for secure networking.
Table of Contents
- Introduction to Raspberry Pi SSH Tunnel
- Benefits of Using SSH Tunnel
- Step-by-Step Setup Process
- Configuring SSH on Raspberry Pi
- Managing Firewall Rules
- Common Issues and Troubleshooting
- Enhancing Security with SSH Keys
- Improving Performance and Reliability
- Real-World Use Cases
- Conclusion and Next Steps
Introduction to Raspberry Pi SSH Tunnel
What is SSH Tunneling?
SSH tunneling, or Secure Shell tunneling, is a method of securely transferring data between two devices over an encrypted connection. By creating a tunnel, you can protect sensitive information from interception and unauthorized access. Raspberry Pi, a versatile and affordable single-board computer, is an excellent platform for implementing SSH tunneling.
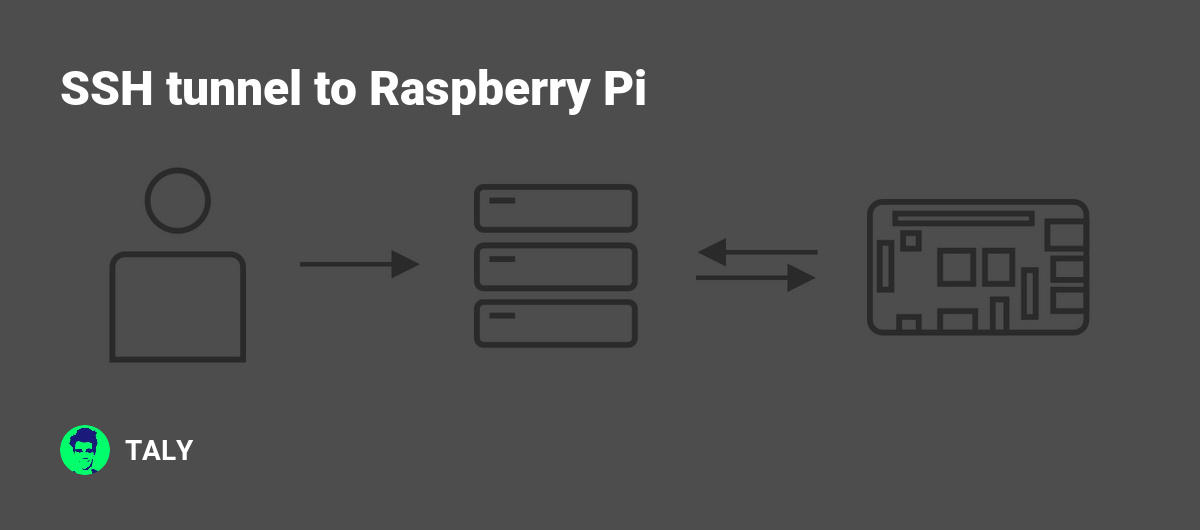
Raspberry Pi SSH tunnel allows users to establish a secure connection between their local machine and a remote server, ensuring that all communication remains encrypted and private. This is particularly useful for remote work, accessing private networks, or securing IoT devices.
Why Use Raspberry Pi for SSH Tunneling?
Raspberry Pi offers several advantages for SSH tunneling, including its affordability, low power consumption, and flexibility. With a wide range of applications, from home automation to professional networking, Raspberry Pi provides a cost-effective solution for secure communication.
Additionally, Raspberry Pi's compatibility with various operating systems and software makes it an ideal choice for developers and enthusiasts alike. Its open-source nature also allows for customization and experimentation, making it a popular choice for DIY projects.
Benefits of Using SSH Tunnel
Implementing an SSH tunnel on Raspberry Pi offers numerous benefits, including enhanced security, privacy, and flexibility. Below are some of the key advantages:
- Encryption: SSH tunnel encrypts all data transmitted between devices, ensuring that sensitive information remains secure.
- Privacy: By using an SSH tunnel, you can hide your IP address and browsing activity from third parties, maintaining your privacy online.
- Flexibility: SSH tunneling supports various protocols, allowing you to securely access different types of services and applications.
- Cost-Effective: Using Raspberry Pi for SSH tunneling is an affordable solution compared to commercial alternatives.
These benefits make Raspberry Pi SSH tunnel an attractive option for individuals and organizations seeking secure and reliable networking solutions.
Step-by-Step Setup Process
Preparing Your Raspberry Pi
Before setting up an SSH tunnel, ensure that your Raspberry Pi is properly configured. Follow these steps:
- Install the latest version of Raspberry Pi OS on your device.
- Connect your Raspberry Pi to a monitor, keyboard, and mouse for initial setup.
- Update the system by running the following commands:
sudo apt update
sudo apt upgrade
Enabling SSH on Raspberry Pi
To enable SSH on your Raspberry Pi, follow these steps:
- Open the terminal on your Raspberry Pi.
- Type the following command to open the Raspberry Pi Configuration tool:
sudo raspi-config
- Select "Interfacing Options" and enable SSH.
- Reboot your Raspberry Pi to apply the changes.
Once SSH is enabled, you can connect to your Raspberry Pi remotely using an SSH client.
Configuring SSH on Raspberry Pi
Configuring SSH on Raspberry Pi involves modifying the SSH configuration file to suit your needs. Here's how you can do it:
- Open the SSH configuration file using the following command:
sudo nano /etc/ssh/sshd_config
- Make the necessary changes, such as disabling password authentication and enabling public key authentication.
- Save the file and restart the SSH service using the following command:
sudo systemctl restart ssh
These configurations enhance the security of your SSH connection and reduce the risk of unauthorized access.
Managing Firewall Rules
To ensure that your Raspberry Pi SSH tunnel operates smoothly, you need to configure your firewall settings. Follow these steps:
- Install the UFW (Uncomplicated Firewall) package using the following command:
sudo apt install ufw
- Allow SSH traffic by running the following command:
sudo ufw allow ssh
- Enable the firewall using the following command:
sudo ufw enable
By configuring your firewall rules, you can protect your Raspberry Pi from unauthorized access while allowing legitimate SSH connections.
Common Issues and Troubleshooting
Connection Issues
If you encounter connection issues when setting up your Raspberry Pi SSH tunnel, consider the following solutions:
- Check your network settings to ensure that your Raspberry Pi is connected to the correct network.
- Verify that SSH is enabled on your Raspberry Pi and that the SSH service is running.
- Ensure that your firewall rules allow SSH traffic.
Authentication Problems
Authentication problems can occur if your SSH keys are not properly configured. To resolve this issue:
- Verify that your public key is added to the authorized_keys file on your Raspberry Pi.
- Ensure that the file permissions for the authorized_keys file are set correctly.
- Restart the SSH service to apply the changes.
By addressing these common issues, you can ensure a stable and secure SSH tunnel connection.
Enhancing Security with SSH Keys
Using SSH keys instead of passwords enhances the security of your Raspberry Pi SSH tunnel. Here's how you can generate and use SSH keys:
- Generate a new SSH key pair using the following command:
ssh-keygen -t rsa -b 4096
- Copy your public key to your Raspberry Pi using the following command:
ssh-copy-id user@raspberrypi
- Disable password authentication in the SSH configuration file to prevent brute-force attacks.
Implementing SSH keys significantly reduces the risk of unauthorized access and enhances the security of your SSH tunnel.
Improving Performance and Reliability
To optimize the performance and reliability of your Raspberry Pi SSH tunnel, consider the following tips:
- Use compression to reduce the amount of data transmitted over the tunnel.
- Implement keepalive settings to maintain a stable connection.
- Monitor your Raspberry Pi's resource usage to ensure optimal performance.
By following these best practices, you can ensure a smooth and reliable SSH tunnel connection.
Real-World Use Cases
Raspberry Pi SSH tunnel has numerous real-world applications, including:
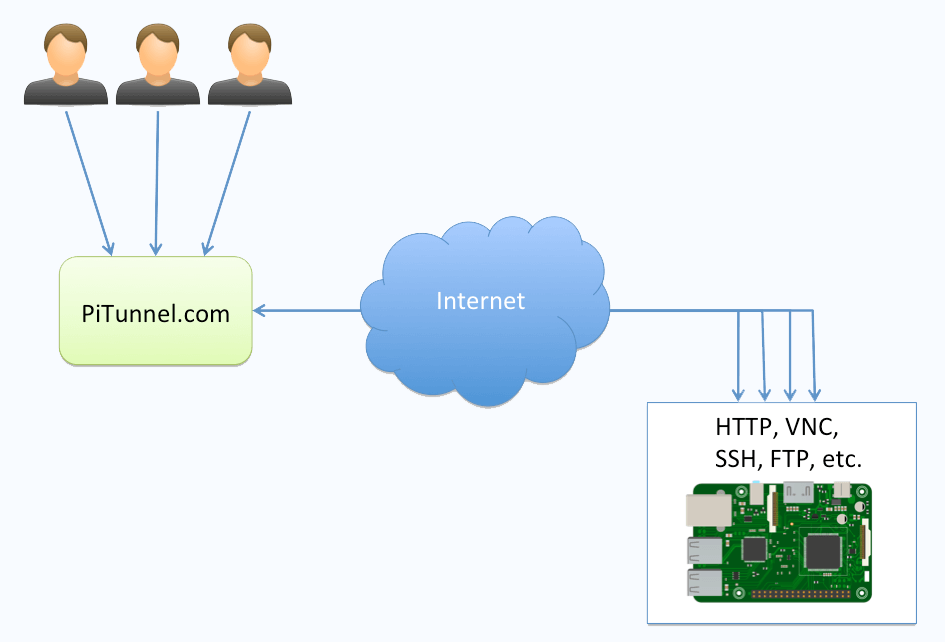
- Remote Access: Securely access your home network or office server from anywhere in the world.
- Secure Browsing: Protect your online activity by routing your internet traffic through an SSH tunnel.
- IoT Security: Secure communication between IoT devices using SSH tunneling.
These use cases demonstrate the versatility and effectiveness of Raspberry Pi SSH tunnel in various scenarios.
Conclusion and Next Steps
Raspberry Pi SSH tunnel offers a powerful and cost-effective solution for secure networking. By following the steps outlined in this guide, you can set up and configure an SSH tunnel on your Raspberry Pi, ensuring that your data remains protected and private.
To further enhance your knowledge and skills, consider exploring advanced topics such as SSH tunneling with dynamic port forwarding, setting up a reverse SSH tunnel, or integrating SSH tunneling with other security tools.
We invite you to share your thoughts and experiences in the comments section below. Additionally, feel free to explore our other articles for more insights into Raspberry Pi and networking solutions. Together, let's build a safer and more secure digital future!