Remote login to Raspberry Pi is an essential skill for anyone working with this versatile device. Whether you're managing a home server, setting up IoT devices, or running applications remotely, understanding how to securely connect to your Raspberry Pi from another computer is crucial. This guide will walk you through everything you need to know, from basic setup to advanced configurations.
As technology evolves, the demand for remote access capabilities grows. The Raspberry Pi, known for its affordability and flexibility, has become a popular choice for developers, hobbyists, and professionals alike. By mastering remote login techniques, you can harness the full potential of your Raspberry Pi, enabling seamless management and control from anywhere in the world.
In this article, we will explore various methods to achieve remote login to Raspberry Pi, discuss security best practices, and provide practical tips to ensure a smooth and reliable connection. Whether you're a beginner or an experienced user, this guide will equip you with the knowledge and tools necessary to enhance your Raspberry Pi experience.
Table of Contents
- Introduction to Remote Login to Raspberry Pi
- Methods to Perform Remote Login to Raspberry Pi
- Setting Up SSH on Raspberry Pi
- Using VNC for Remote Login
- Ensuring Secure Remote Login
- Troubleshooting Common Issues
- Advanced Configurations for Remote Login
- Applications of Remote Login to Raspberry Pi
- Best Practices for Managing Remote Connections
- Conclusion and Next Steps
Introduction to Remote Login to Raspberry Pi
Remote login to Raspberry Pi allows users to access and manage their devices without being physically present. This capability is particularly useful for managing servers, automating tasks, or controlling IoT devices. The Raspberry Pi supports multiple remote access methods, with SSH and VNC being the most commonly used.
Understanding the basics of remote login is essential for optimizing your Raspberry Pi's functionality. By enabling remote access, you can perform tasks such as file transfers, system updates, and application management from any location. This section will introduce you to the fundamental concepts and benefits of remote login to Raspberry Pi.
Methods to Perform Remote Login to Raspberry Pi
SSH: The Standard Protocol
Secure Shell (SSH) is the most popular method for remote login to Raspberry Pi. It provides a secure and encrypted connection, ensuring that your data remains protected during transmission. SSH is lightweight, efficient, and widely supported across different platforms.
VNC: For Graphical Access
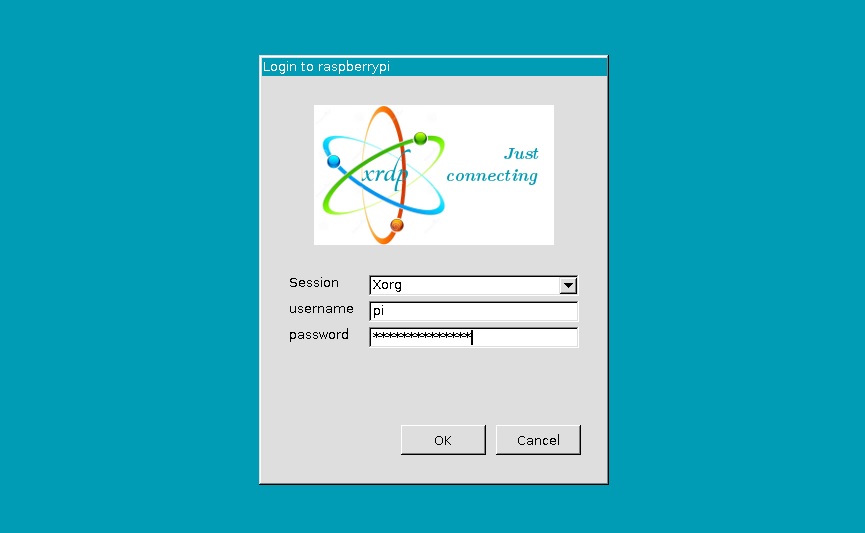
Virtual Network Computing (VNC) allows you to access the graphical user interface (GUI) of your Raspberry Pi remotely. This method is ideal for tasks that require visual interaction, such as running graphical applications or configuring settings through the desktop environment.
Both SSH and VNC have their own advantages and use cases. Depending on your requirements, you can choose the method that best suits your needs.
Setting Up SSH on Raspberry Pi
Enabling SSH on your Raspberry Pi is a straightforward process. Follow these steps to set up SSH for remote login:
- Ensure your Raspberry Pi is connected to the internet.
- Open the terminal on your Raspberry Pi.
- Type
sudo raspi-configand navigate to the "Interfacing Options" menu. - Select "SSH" and enable it.
- Reboot your Raspberry Pi to apply the changes.
Once SSH is enabled, you can connect to your Raspberry Pi using an SSH client from another computer. Popular SSH clients include PuTTY for Windows and the built-in terminal application for macOS and Linux.
Using VNC for Remote Login
Installing VNC Server
To use VNC for remote login, you need to install a VNC server on your Raspberry Pi. The official Raspberry Pi OS includes RealVNC, which can be enabled through the following steps:
- Open the terminal on your Raspberry Pi.
- Type
sudo raspi-configand navigate to the "Interfacing Options" menu. - Select "VNC" and enable it.
- Reboot your Raspberry Pi to apply the changes.
Connecting via VNC Viewer
Once the VNC server is set up, download and install the VNC Viewer application on your remote computer. Enter the IP address of your Raspberry Pi and establish a connection to access its graphical interface.
Ensuring Secure Remote Login
Security is a critical aspect of remote login to Raspberry Pi. Follow these best practices to safeguard your device:
- Use strong, unique passwords for your Raspberry Pi user accounts.
- Enable two-factor authentication (2FA) for added security.
- Regularly update your Raspberry Pi's software and firmware to protect against vulnerabilities.
- Limit SSH access to specific IP addresses using firewall rules.
By implementing these security measures, you can minimize the risk of unauthorized access and ensure the integrity of your Raspberry Pi.
Troubleshooting Common Issues
Despite careful setup, you may encounter issues when attempting to perform a remote login to Raspberry Pi. Here are some common problems and their solutions:
Unable to Connect via SSH
If you cannot establish an SSH connection, verify the following:
- Ensure SSH is enabled on your Raspberry Pi.
- Check the IP address of your Raspberry Pi and ensure it is reachable from your remote computer.
- Confirm that the SSH service is running on your Raspberry Pi.
VNC Connection Fails
For VNC-related issues, try the following troubleshooting steps:
- Ensure the VNC server is installed and running on your Raspberry Pi.
- Verify that the VNC Viewer application is correctly configured on your remote computer.
- Check for firewall or network restrictions that may block VNC traffic.
Advanced Configurations for Remote Login
Port Forwarding for External Access
To access your Raspberry Pi remotely from outside your local network, you may need to configure port forwarding on your router. This involves mapping a specific port on your router to the IP address and port of your Raspberry Pi.
Setting Up a Static IP Address
Assigning a static IP address to your Raspberry Pi ensures consistent connectivity and simplifies remote login configurations. Use the following steps to set up a static IP:
- Edit the
/etc/dhcpcd.conffile using a text editor. - Add the static IP configuration details, including IP address, gateway, and DNS servers.
- Restart the networking service to apply the changes.
Applications of Remote Login to Raspberry Pi
Remote login to Raspberry Pi opens up a wide range of possibilities for various applications. Some common use cases include:
- Managing home servers and NAS devices.
- Controlling IoT devices and automation systems.
- Running remote applications and services.
- Performing system maintenance and updates.
By leveraging remote login capabilities, you can unlock the full potential of your Raspberry Pi and streamline your workflow.
Best Practices for Managing Remote Connections
To ensure a smooth and efficient remote login experience, follow these best practices:
- Regularly monitor your Raspberry Pi's system logs for any suspicious activity.
- Keep your remote access tools and software up to date.
- Document your configurations and settings for easy reference.
- Limit remote access privileges to trusted users only.
Adhering to these practices will help you maintain a secure and reliable remote login environment.
Conclusion and Next Steps
Remote login to Raspberry Pi is a powerful tool that enhances the flexibility and functionality of this remarkable device. By mastering SSH and VNC, implementing security best practices, and exploring advanced configurations, you can unlock new possibilities for your projects and applications.
We encourage you to share your experiences and insights in the comments section below. Additionally, consider exploring other articles on our website to deepen your knowledge of Raspberry Pi and related technologies. Together, let's continue to push the boundaries of what's possible with remote computing!